|
|
I made a mistake. The slope on the turrets proved to be insufficient at about 50mm over the 2m width. This resulted in the pooling of water on top. Over time this started to leak. Roofing felt made the turrets very hard to rotate so the decision was made to change them. Please note that images were taken throughout the refurbishmnet of both turrets. However to illustrate the build they are somewhat mixed.
|
After some debate I decided that the required changes were substantial enough to require new turrets rather than changing the old.
The main reason for this was that changing in place was not practical and would take too long to leave the observatory open.
As can be seen here there is now a substantial slope to the roof. The central area has a reduced slope, but is more than the original.
I also increased the width of the aperture slightly.
|

|
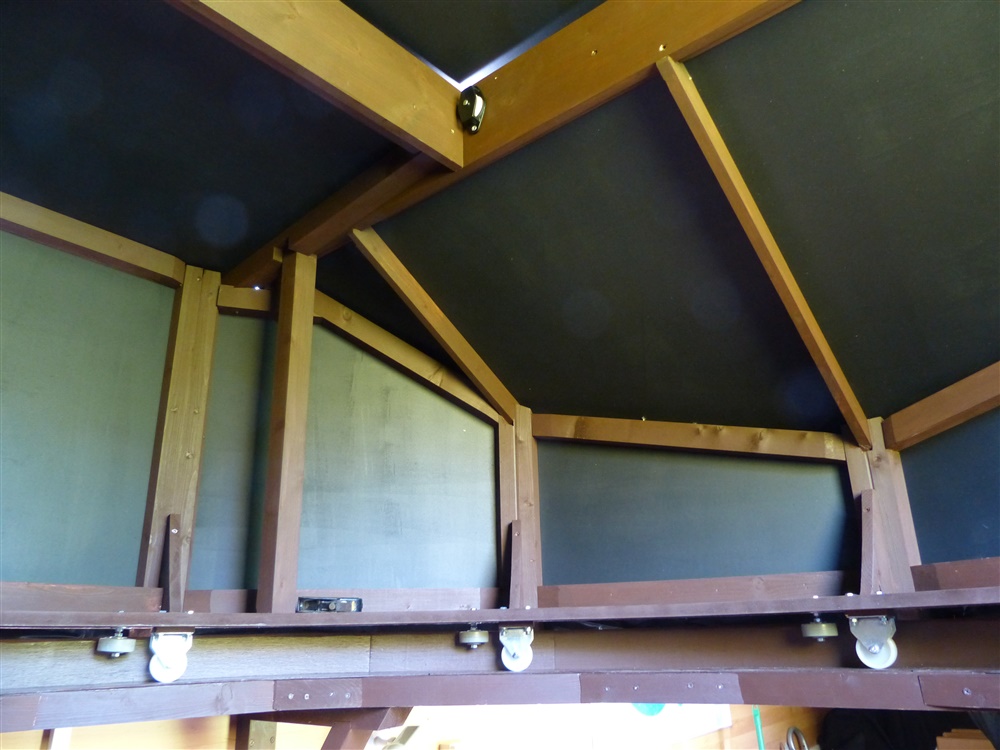
Hardboard was again used to enable a clean interior. This time on the outside of the frame.
|

|
The frame was then clad in polythene sheet.
|

|
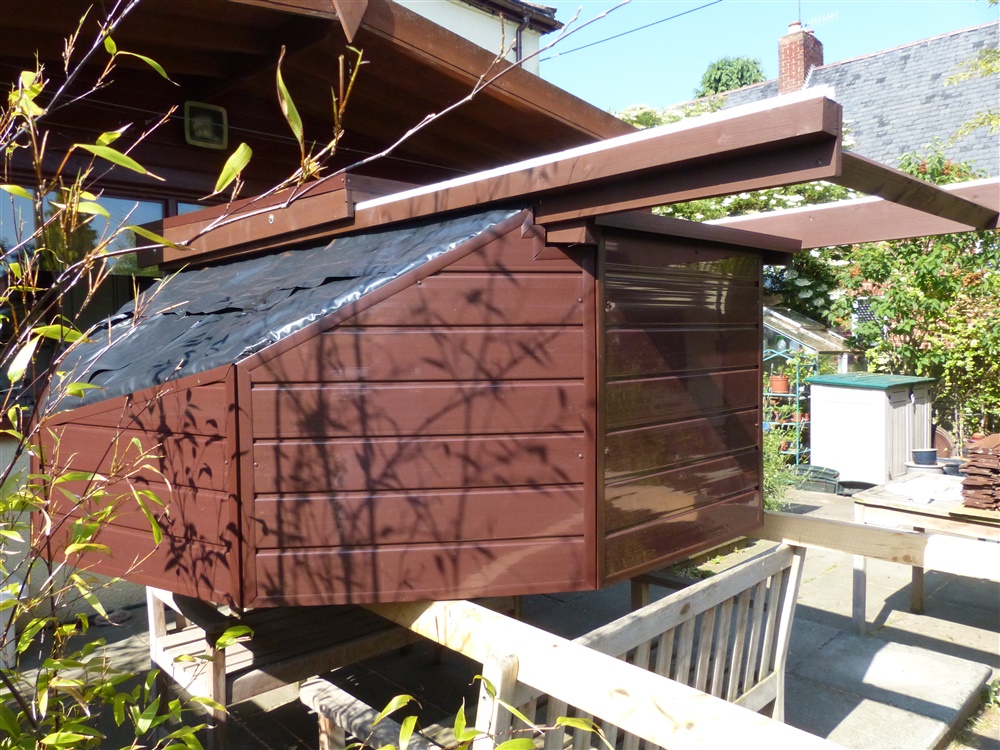
One of the problems with the original design was the use of shiplap. This proved too be too heavy so I changed to use 10mm hollow soffit board
Lighter than the shiplap and no maintenance required. Easy to fit along with finishing strips and plenty of mastic sealer.
|
|
Painted black to reduce reflections.
Note fillets to add support to the base ring.
The base ring was cut from 18mm MDF - two half rings joined centre back and front.
|

|
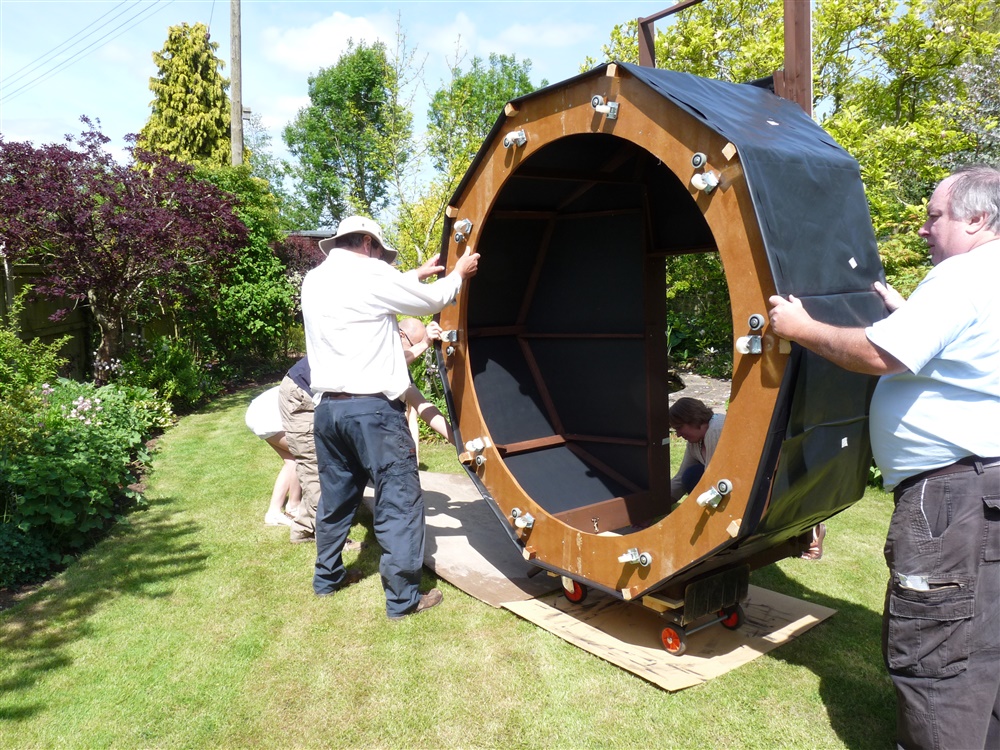
As ever Steve and Jeff were available for the installation. Turret is resting on the front aperture. Boards used to ease rolling down the lawn.
|
|
First turret in place.
As can be seen there is still some cladding to be completed.
|

|
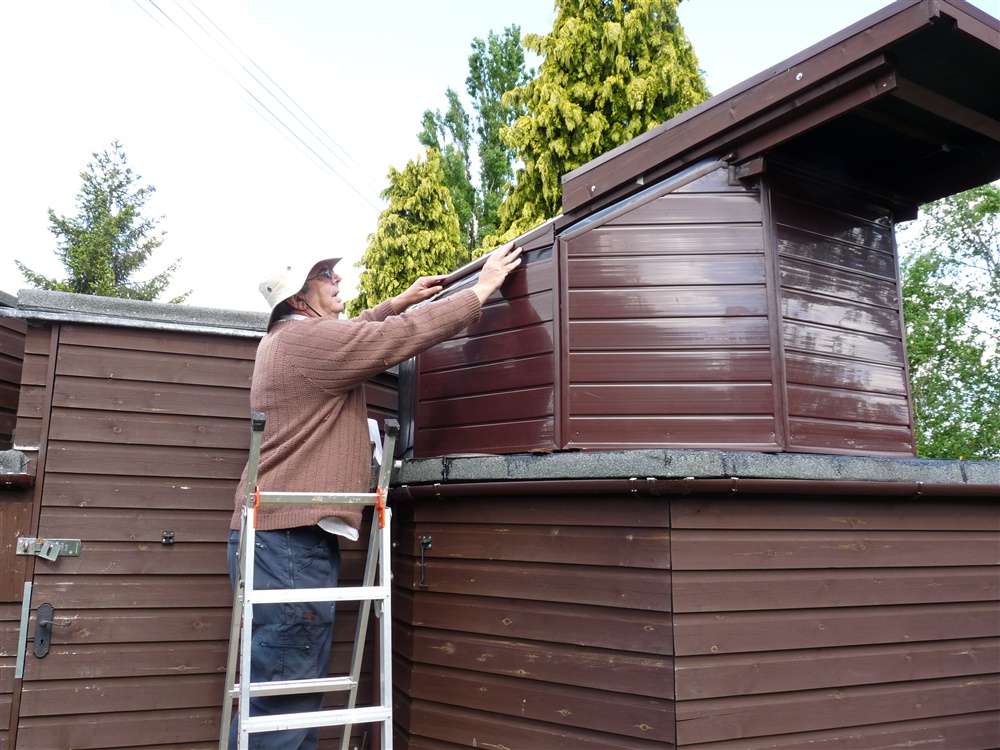
Me fitting trim to one of the panels.
|
|
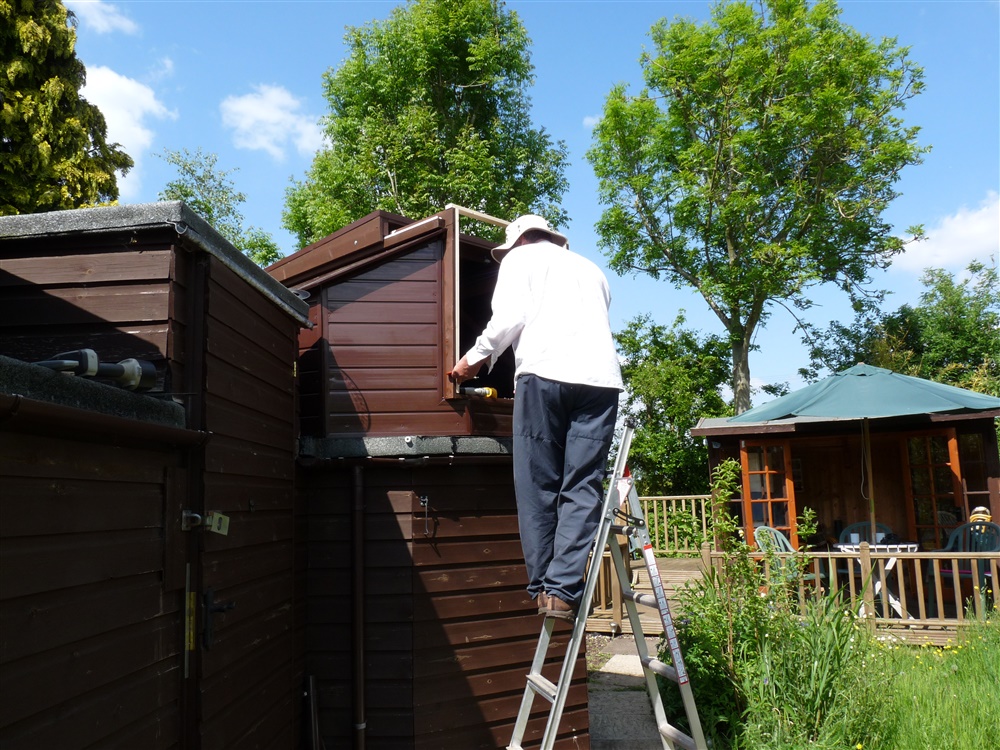
To ensure a good fit I built the front apperture into the frame.
|
|
Inside view. Note pulley for opening ropes.
|
|
|